How to Set Up an Obfuscated OpenVPN Connection on macOS Using TunnelBlick with VPNUK
This guide will walk you through setting up an obfuscated OpenVPN connection on macOS using TunnelBlick. VPNUK’s Obfuscation ensures enhanced privacy, metadata scrambling, and additional DPI protection, allowing users to bypass firewalls and VPN restrictions.
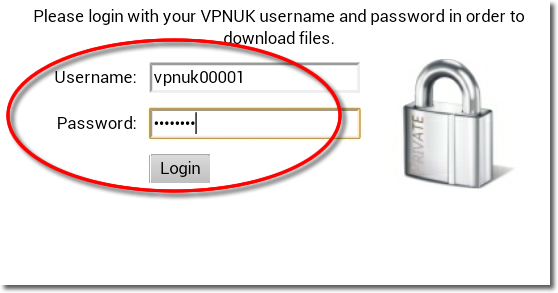
1. Start Configuration
Click Here to open a new window to login and configure the OpenVPN connection. Our system will automatically email your Config file to you or you also have the option to download it manually.
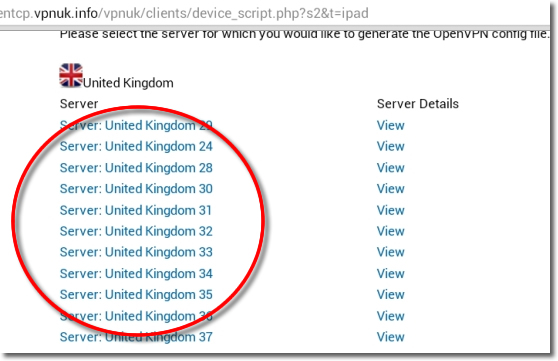
2. Choose a Server
If your account is on the Shared IP platform, you are welcome to choose any or as many servers as you like. If you have a Dedicated IP account your server details will be automatically selected for you.
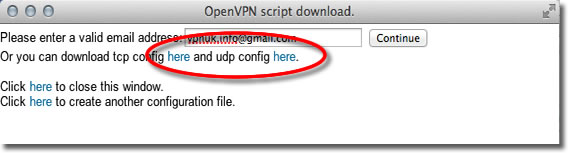
3. Get the config files
Click onto the download option, with the obfuscation version of OpenVPN from VPNUK you only have the option to connect to the service through the UDP protocol on port 443. If you prefer to have the files sent to your inbox, confirm your email address then click onto the ‘Continue’ button, this will instruct our server to email your config file to you. The email will arrive after a couple of minutes.
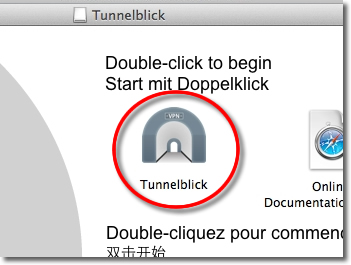
4. Download Tunnelblick
Please ensure you have the latest release of Tunnelblick for MacOS. You can download the latest version from the Tunnelblick project page at: https://www.tunnelblick.net
5. Confirm install
Click the ‘Install’ button to copy Tunnelblick to your hard drive.

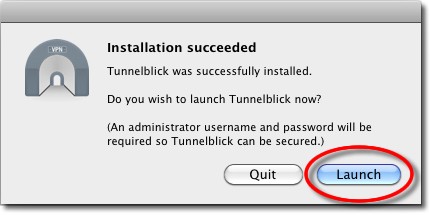
6. Installation complete
Once installation has completed a new window will appear, click the ‘Launch’ button.
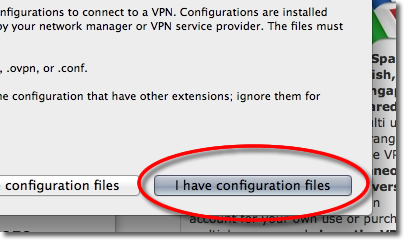
7. Tunnelblick Configurations
Tunnelblick will now ask you if you have a configuration file, select the button that reads ‘I have configuration files’.
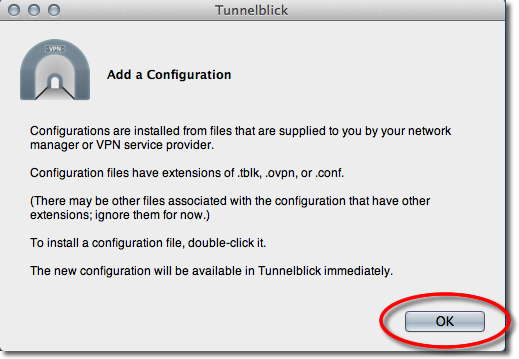
8. Add a Configuration
We now need to import the configuration from earlier. Click onto the ‘OK’ button.
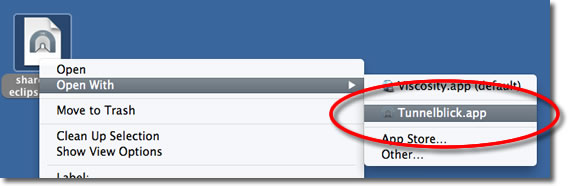
9. Open email client / go to Download location
Go to the OpenVPN configuration file that you downloaded or had emailed to yourself earlier, right click onto the file and choose ‘Open With’ – ‘Tunnelblick’
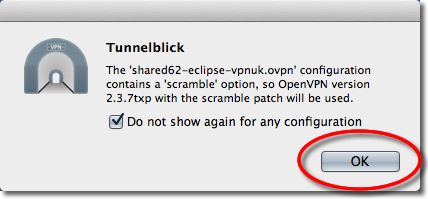
10. Obfuscation (Scramble Patch) confirmation
Tunnelblick will confirm that it will use the ‘Scramble Patch’ with this configuration, click ‘OK’ to confirm.
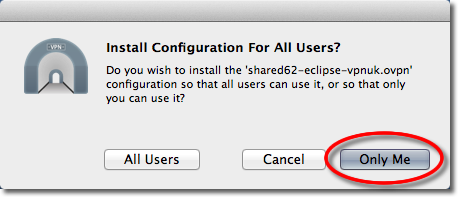
11. Install Configuration
Confirm the installation of the file for ‘All Users’, you can also select ‘Only Me’.
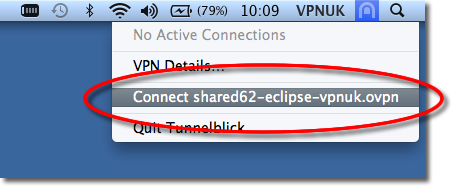
12. Connect to VPNUK through Tunnelblick
Click onto the Tunnelblick icon and select ‘Connect’. You can also click ‘Details’ for a more detailed view of the connection procedure
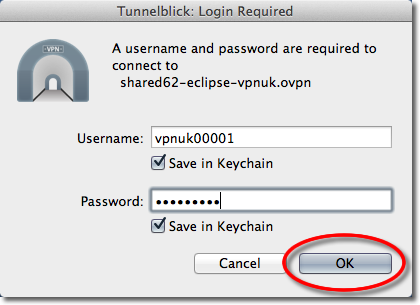
13. Login Details
The first time you connect through Tunnelblick you will be asked for your VPNUK login credentials. If you would like to save the login credentials select the option to ‘Save in Keychain’.
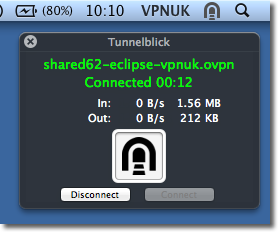
15. Connected
Thats It!! You are now connected to the VPNUK service through VPNUK Obfuscation. All Meta data will be scrambled and you have addidtional DPI protection.
Enjoy Secure Obfuscated VPN Access with VPNUK & TunnelBlick on MacOS!
Did this guide help? Please provide us with feedback here or share it with others looking for a secure Obfuscated VPN setup on MacOS!
Troubleshooting Guide
Your VPNUK account should work first time, everytime. If you ever experience any problems with your VPN connection the first thing we urge you to do is contact us on our Live Help service, we can offer instant assistance with all connection issues and get you back online. The following is a basic troubleshooter for the more common issues that can arise from our VPN service.