Mac OSX VPNUK Dialer Software UI
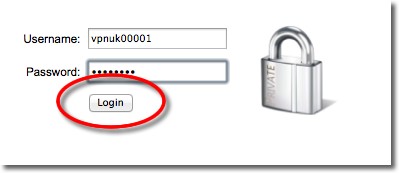
2. Download the Applictation
Download the VPNUK Dialer application from here, you can also download from a mirror location here.
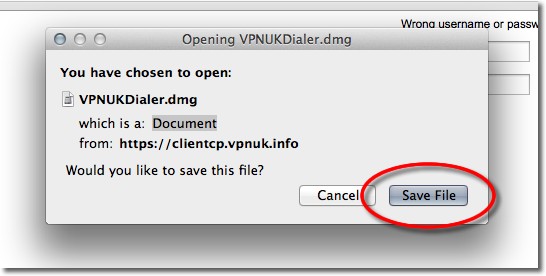
3. Save the file
Click onto ‘Save’ to save the application to your computer.
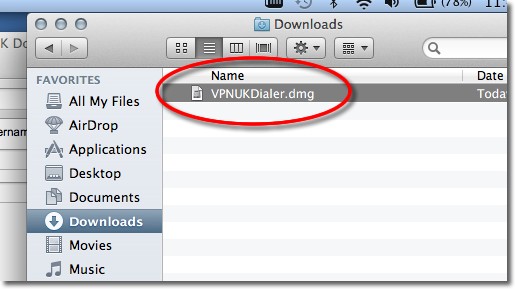
4. Open the installer.
Go to the Download location and open the file named: VPNUKDialer.dmg. This can usually be located in the Downloads direcotry.
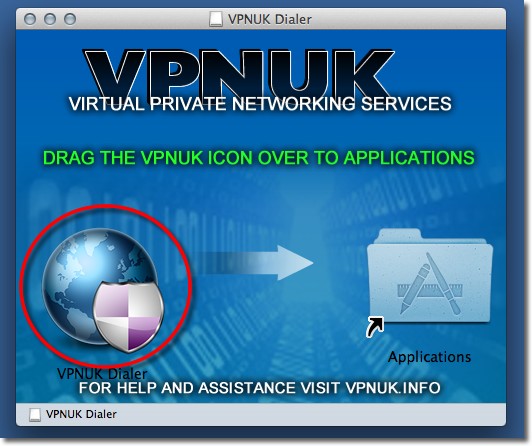
5. Install VPNUK Dialer
Click and drag the VPNUK Dialer icon over to the Applications Icon.
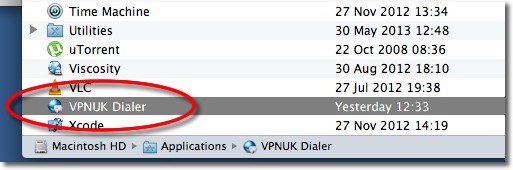
6. Open VPNUK Dialer Application
Go to Applications and double click onto the VPNUK Dialer application. You can also drag the program into your Dock or onto the Desktop for easier access in the future.
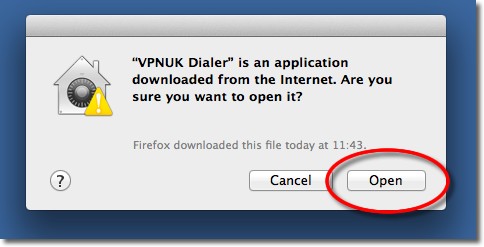
7. Agree to Prompt
You may receive a prompt the first time you run the application. Click onto the ‘Open’ button.
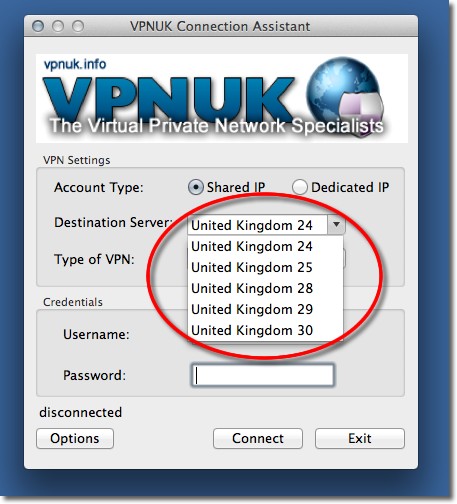
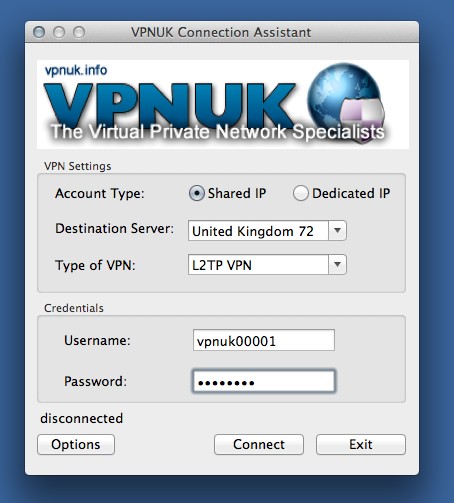
8. Settings – Destination Server
Select your account type and server. If your account is on the Shared IP system choose any server, if your account is on the Dedicated IP system, choose the server that corresponds to your unique IP.
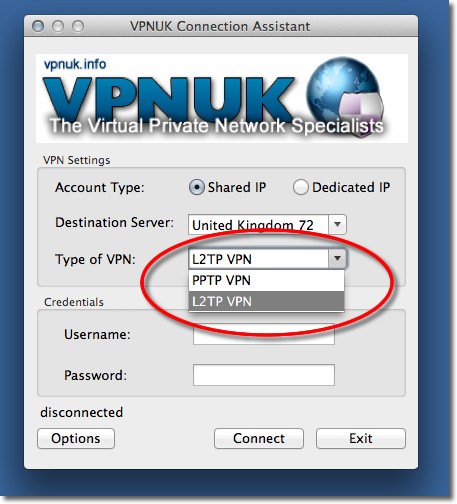
9. Settings – Type of VPN
You can choose a connection over PPTP or L2TP from the initial interface, we recommend connections over L2TP on Mac OS X. However, it is always best to try all possible connections so you can be sure its the optimal one for your settings.
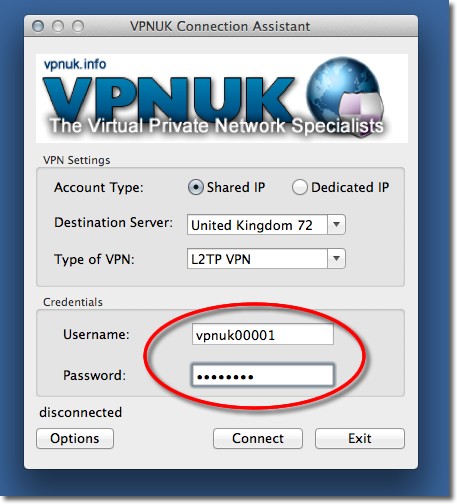
10. Settings – Login Credentials
Enter your login username and passowrd..
11. Connect
Thats It! You have now setup a PPTP / L2TP connection. You can now connect!
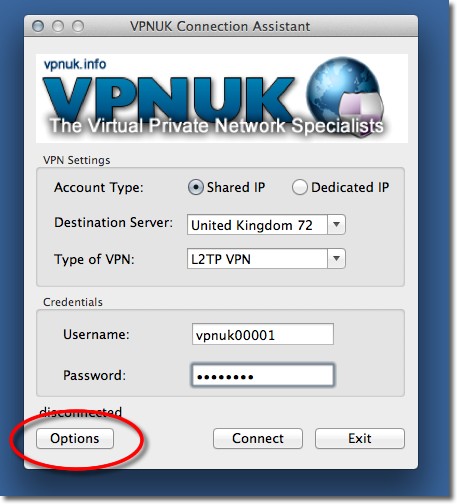
12. Section 2 – OpenVPN Configuration (Optional)
This tutorial will guide you through the setup and configuration procedure of an OpenVPN connection using our built in TunnelBlick handler. Click onto the Options button
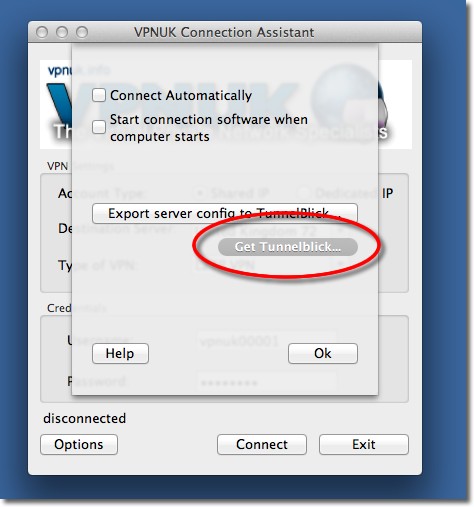
13. Download TunnelBlick
Click onto the ‘Get TunnelBlick’ link if you don’t already have TunnelBlick installed on your Mac. This link will open our Tunnelblick downloader which will download the latest stable release from Tunnelblick onto your Mac. If you already have TunnelBlick installed on your Mac please move on to part 19.
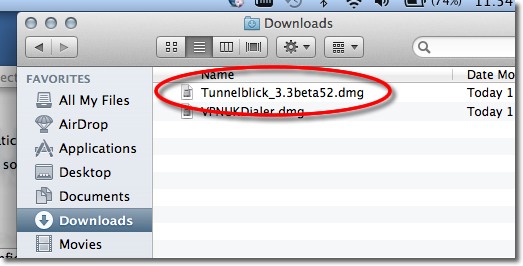
14. Open Downloaded File!!
Go to your downloads location or directory and open the newly downloaded TunnelBlick.dmg installation file.
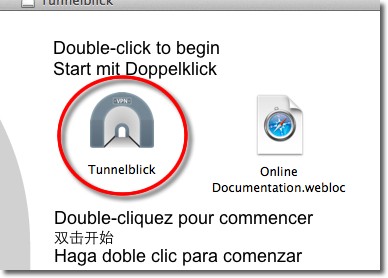
15. Install TunnelBlick!
Double click onto the TunnelBlick installer to begin the installation procedure..
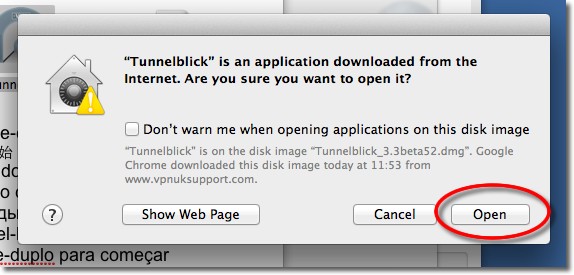
16. Open TunnelBlick
You may receive a prompt on the first run of Tunnelblick, click onto the ‘Open’ button.
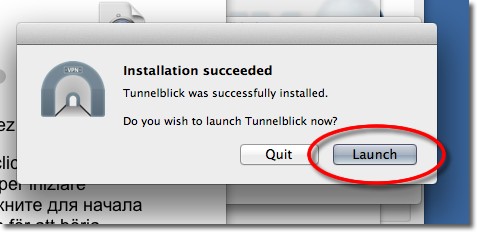
17. Launch TunnelBlick
Click onto the ‘Launch’ button.
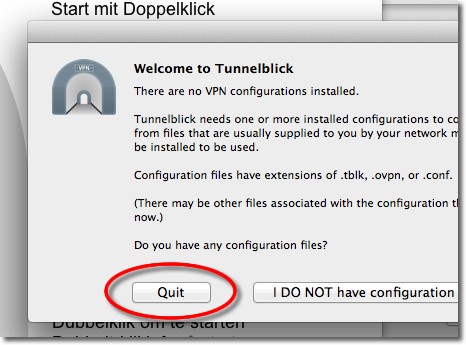
18. Quit the configurations prompt
Tunnelblick will automatically look for OpenVPN configuration files once its up and running, we are going to send these in the next step so you can ‘Quit’ tunnelblick for the time being.
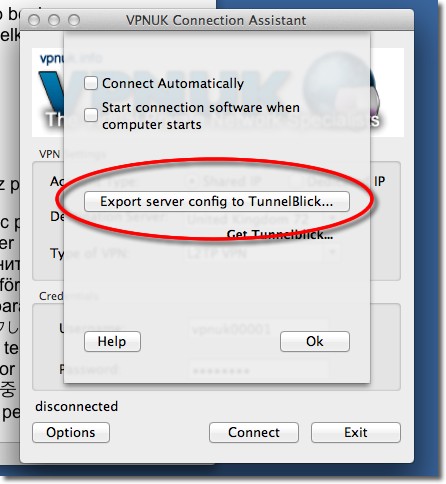
19. Export Config to TunnelBlick
Click onto the ‘Export server config to TunnelBlick’ button to send the current server configuration to TunnelBlick. (This will export the current ‘Destination Server’ as shown in Part 8 of the tutorial)
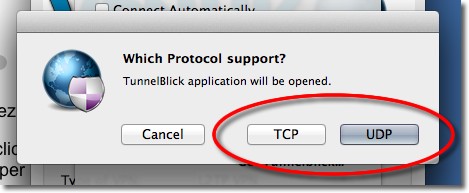
20. Choose which protocol to use
Our OpenVPN configuration allows connections over UDP and TCP. If you are behind a corporate, university or otherwise strict firewall choose TCP. UDP should be fine in all other instances.
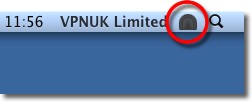
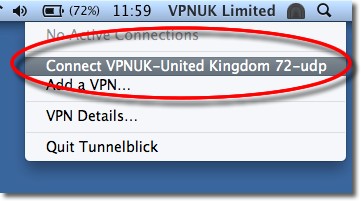
21. Connect OpenVPN
Go to the menu bar and click onto the TunnelBlick icon.
22. Connect!
Choose the connection you’d like to connect to by clicking onto it.
23. More Configurations
Repeat steps 19 to 22 for more server connections. OpenVPN will allow up to 50 profiles or servers to be configured.
Troubleshooting Guide
ISP DNS Hijack / DNS Leak Protection
Some ISPs will attempt to hijack your DNS settings which hinders the VPN connection from functioning correctly. If you find that your VPNUK connection does not route your traffic correctly you can try changing your Public DNS server to the VPNUK DNS server or to an alternative like Google DNS.
1. Right click onto your network connection icon in the menu bar and select Open Network Preferences.
2. Click onto your active internet connection from the left hand menu and then click ‘Advanced’.
3. Go to the DNS tab.
4. Enter a DNS IP into the DNS server box. Google DNS is 8.8.8.8. VPNUK Public DNS is: 109.169.6.2
5. Click ‘OK’ and ‘Apply’ the change.
Send all traffic over the VPN (PPTP and L2TP connections only)
Mac OS X requires that you instruct it to Send traffic over the VPN connection. Follow this tutorial if you do not appear to be on the VPN when connected.
1. Right click onto your network connection icon in the menu bar and select Open Network Preferences.
2. Click onto your VPNUK connection from the left hand menu and then click ‘Advanced’.
3. Select the option to ‘Send All Traffic Over The VPN’.
4. Click ‘OK’ and ‘Apply’ the change.