This tutorial will go step-by-step through installing, configuring and connecting to your VPNUK account using VPNUK Connection Software on Windows. We recommend connecting with an OpenVPN or WireGuard® connection.
Click here to download the latest version (1.3.8) of our app directly or view all releases on our GitHub repository.
Note: Some users encounter routing issues after installing. If you experience any connection problems, please contact our Live Help team — always run the VPNUK software with admin permissions to minimise this possibility.
Screencast Tutorial
Installing VPNUK Software
Download VPNUK Software
You can download and setup VPNUK from the following link. We have a .exe and a .zip version available for download.
Download VPNUK-Web-Setup-1.3.8.exe directly, or view the release on GitHub. If you have any problems downloading, please contact our Live Help team. You can also download the VPNUK App which offers offline installation Download VPNUK-Setup-1.3.8.exe
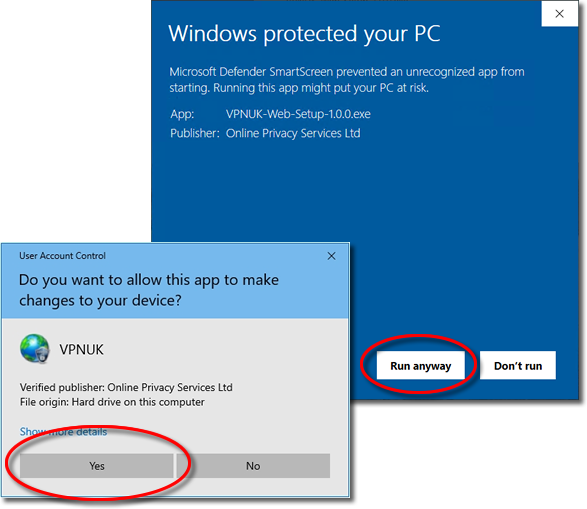
SmartScreen Prompt
You may receive a Windows SmartScreen or User Account Control prompt during installation. Click 'Yes' or 'Run Anyway'. The VPNUK software is verified, secure and perfectly safe to use. You can click 'Show Details' to view our security certificate information.
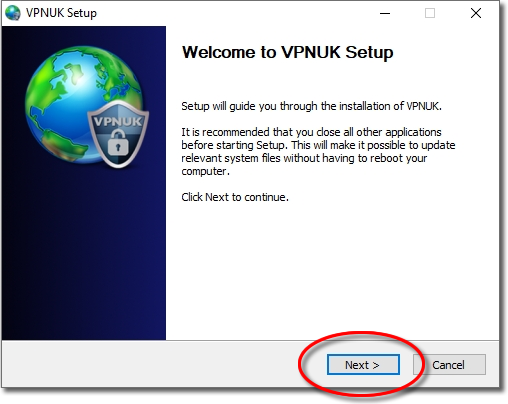
Start Installation
To begin with, run the installer application.
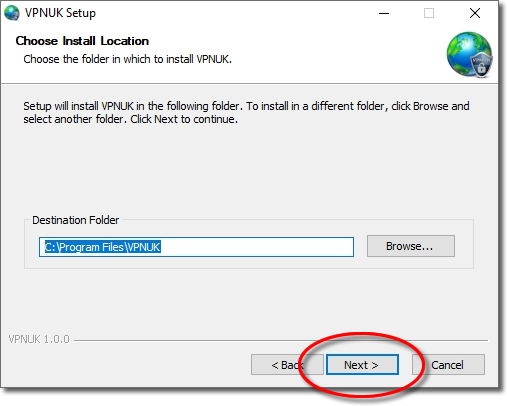
Location
Click 'Next' to confirm the installation location.
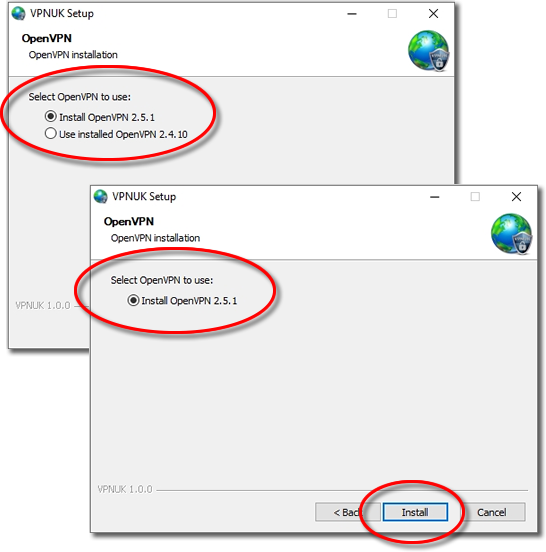
OpenVPN & WireGuard Version
We always recommend using the most recent version of OpenVPN & WireGuard®. If you already have OpenVPN or WireGuard installed, our software installer will prompt you to update to the latest version if it is out of date.
Finish Installation
Once all files have been downloaded and installed click 'Finish' to close the setup.

Configuring the VPNUK Connection
Run the VPNUK Software
You will have a desktop shortcut and a VPNUK Start menu item. Click onto the VPNUK icon to run the software.
Connection Settings
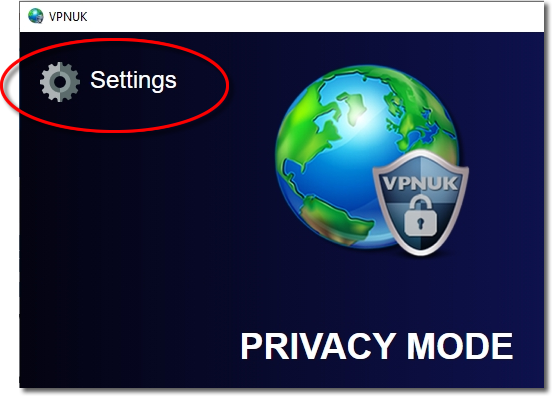
Click onto the 'Settings' icon.
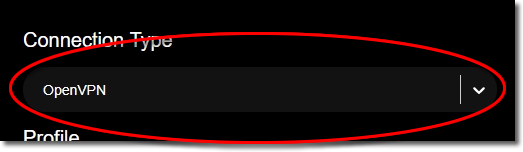
Connection Type
VPNUK Software currently allows a connection through the following connection types: WireGuard®, OpenVPN and IKEv2.
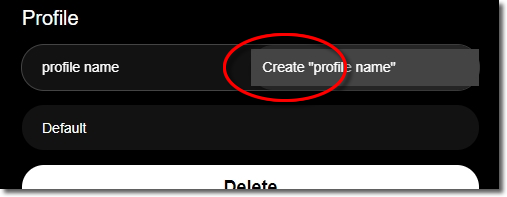
Create Profile
You can add unlimited connection profiles to the VPNUK software. This saves your connection settings and server details to make the connection process very easy from the Quick Launch screen. Type a name for your connection in the upper Profile text area and click 'Create'. You can edit or delete profiles at any time.
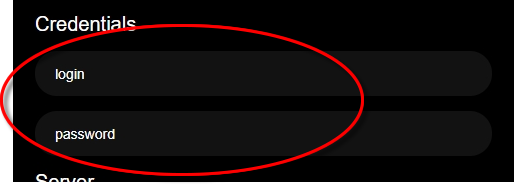
Profile Connection Settings — Username & Password
Enter the VPN login username and password for the profile you are creating. You can find your assigned VPN login username and password, along with your server information, in the Members Area. Click onto VPNUK Account Details from the left-hand menu and navigate to the account you would like to configure.
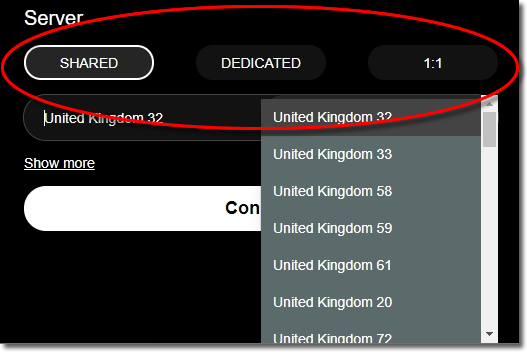
Profile Connection Settings — Server
Choose your VPNUK server information. Shared IP account holders can choose any shared IP server. Dedicated IP and 1:1 account holders must select the server their VPN account is located on. Dedicated IP account holders also have unlimited access to the entire Shared IP platform and can create multiple connection profiles.
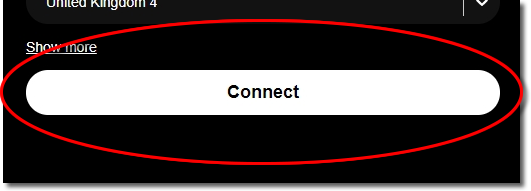
Connecting for the First Time
Click onto the 'Connect' button to connect to the VPN account.
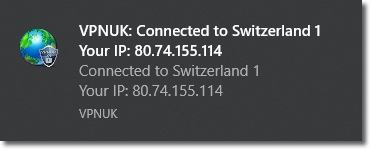
Connection Confirmation Details
Once connected to the VPN, you will receive a visual confirmation of your chosen server and your IP address. The system tray icon will also change colour.
Other Settings and App Functions
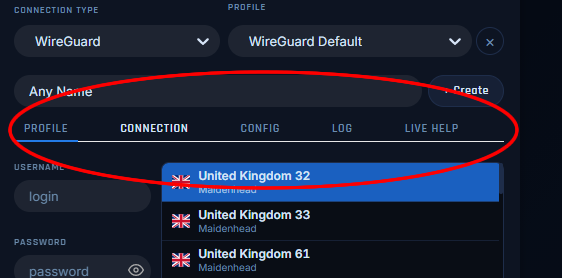
Settings & Functions Menu
Profile – Connection Settings.
Connection – Optional connection settings and start up options.
Config – View and Edit your connection configuration settings.
Log – View your connection log.
Live Help – Chat to our expert support team 24/7.
Profile Connection Settings — Optional WireGuard® Settings
Auto Start – Starts the VPNUK App when Windows starts.
Auto Connect – Automatically connects to the VPN when the VPNUK App starts.
Kill Switch – Protects your real location from being displayed should your VPN connection fail.
DNS – Routes your VPN connection through a third party DNS provider.
MTU – Changes the default MTU settings which can sometimes help with routing speeds.
Manange Configs – Manage your WireGuard configuration files.
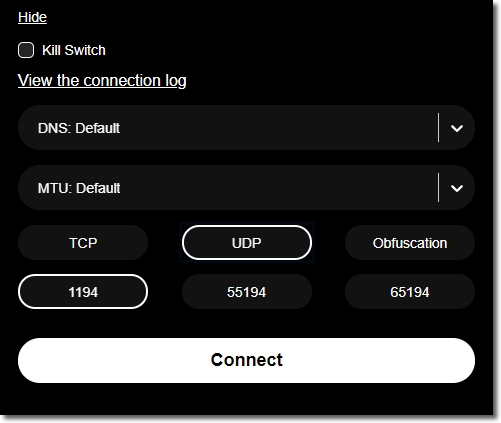
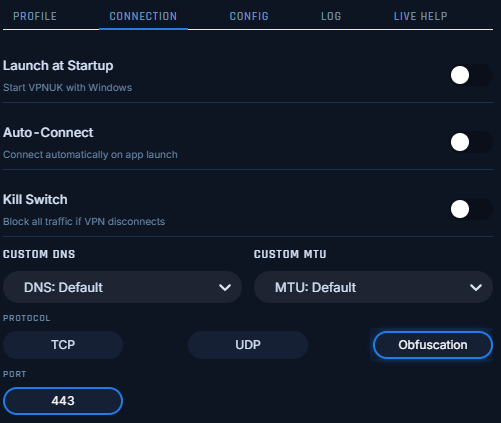
Profile Connection Settings — Optional OpenVPN Settings
Auto Start – Starts the VPNUK App when Windows starts.
Auto Connect – Automatically connects to the VPN when the VPNUK App starts.
Kill Switch – Protects your real location from being displayed should your VPN connection fail.
DNS – Routes your VPN connection through a third party DNS provider.
MTU – Changes the default MTU settings which can sometimes help with routing speeds.
Protocol – Choose whether to route your connection through a TCP, UDP or an obfuscated connection.
Port – Choose which port to run your VPN connection through.
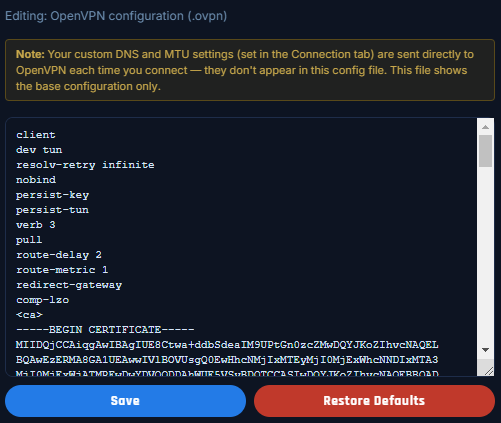
Config
The Config settings screen allows you to view and edit your configuration settings. This can be particularily useful if you need to set any custom parameters to your connection such as access to local systems. Changing Protocol, Port, DNS and MTU settings in the app automatically adjusts the configuration settings.
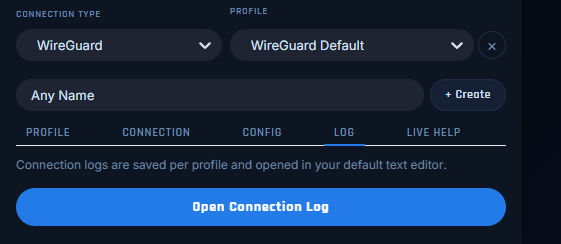
Log
The connection log is particularily useful if you ever have problems connecting to the VPN. We may ask for this should you ever need to contact us, the log gives valuable insight on the reason behind connection failures.
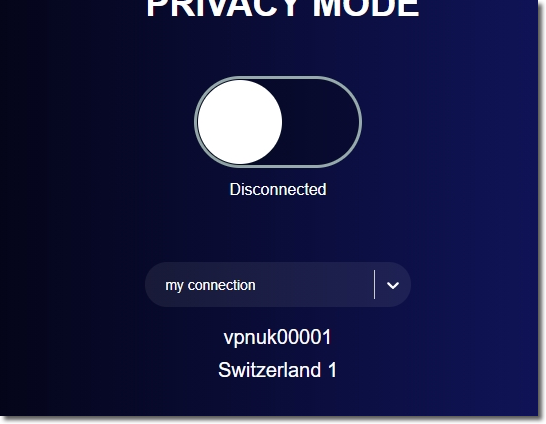
Quick Launch Screen
Quick Launch Overview
The Quick Launch screen has been designed to provide you with an easy way to switch between existing profiles and connect to your VPNUK account. You will be presented with a connection toggle button, a profile switcher dropdown and a visual confirmation of the current profile being used.
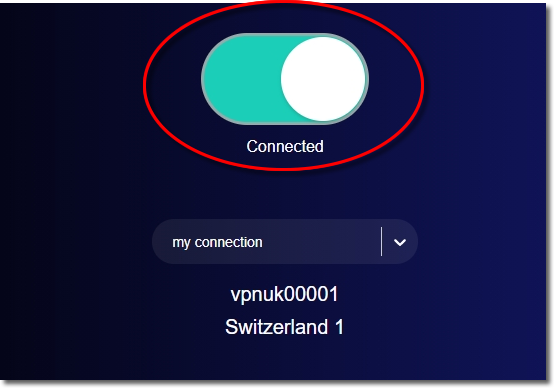
Connection Toggle
Once you are happy with the profile selection you can click onto the connection slider to connect to your VPNUK account.
Built-in Obfuscation
Users where strict online restrictions exist can choose to connect to the VPNUK service through an obfuscated connection. VPNUK Obfuscation has been configured to work alongside an OpenVPN connection and will protect you against DPI attempts. Specifically designed to assist anyone suffering problems with network restrictions or strict firewalls blocking VPN connections. It is strongly recommended to use a VPNUK obfuscation connection if you connect from the Middle East, China or any other country or network that has strict internet access policies in place.
Enjoy Secure VPN Access with the VPNUK App on Windows! If this guide helped, please share your feedback.
"WireGuard" and the "WireGuard" logo are registered trademarks of Jason A. Donenfeld.