Setting up PPTP on ASUS routers (WAN).
1. Go to VPN
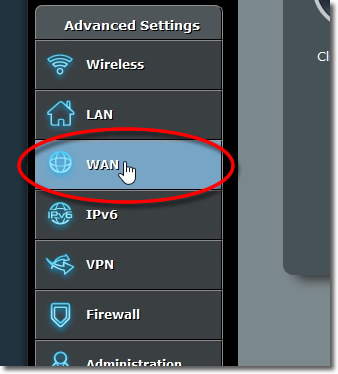
Login to your ASUS router adminstration and from the ‘Advanced Settings’ panel go to ‘WAN’.
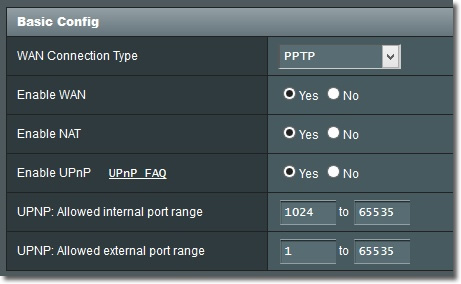
2. Basic Config
CHange the ‘WAN Connection Type’ dropdwn to ‘PPTP’.
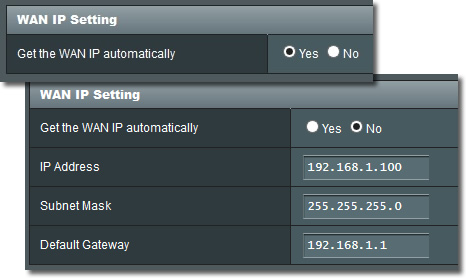
3. WAN IP Setting
You can either ‘Get the WAN IP automatically’ or you can set this manually using your router settings. The following settings should only be used as a guide, your settings may differ.
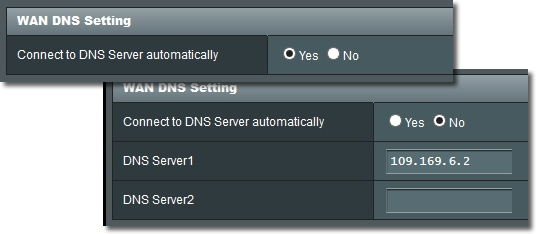
4. WAN DNS Settings
You can either ‘Connect to DNS Server automatically’ or you are welcome to use the services of a third party DNS server, this is especially useful if your ISP Hijack your DNS. If you would like to use the VPNUK public DNS enter 109.169.6.2. You can also use Google DNS by entering 8.8.8.8 and 8.8.4.4
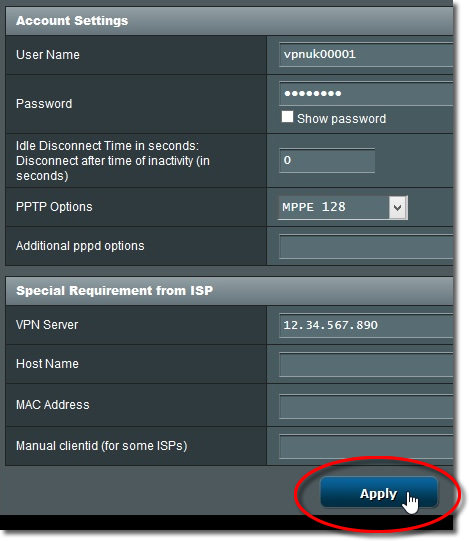
5. Account Settings
Enter your account settings and Options as follows:
1. User Name: Your VPNUK login username.
2. Password: Your VPNUK login password.
3. PPTP Options: Change this to ‘MPPE 128’.
4. VPN Server – Enter the VPNUK server IP that your account has access to. You can find the server information in your ‘Welcome to VPNUK’ email or in the ‘Client CP‘ on the VPNUK website.
5. Apply! Your router will then save the connection settings and
begin routing you over the VPN.
Note: The router can sometimes take a few minutes before it begins routing through the VPN.